They are way cheaper and super easy to make.
Do you want to make your own candles? With just a few steps and ingredients, you ll be able to create gorgeous aromatic candles that will fill your home with breathtaking aroma. Learn how with our step by step guide!
Raw materials and choices
Before you start with the creative process, it’s time for some important decisions! We start with the collection of the necessary raw materials. This includes the wax, mold, wick, pigments and all other necessary materials. Once you have everything you can move on to melting the wax and using it!
Decide what kind of scented candle you want to create
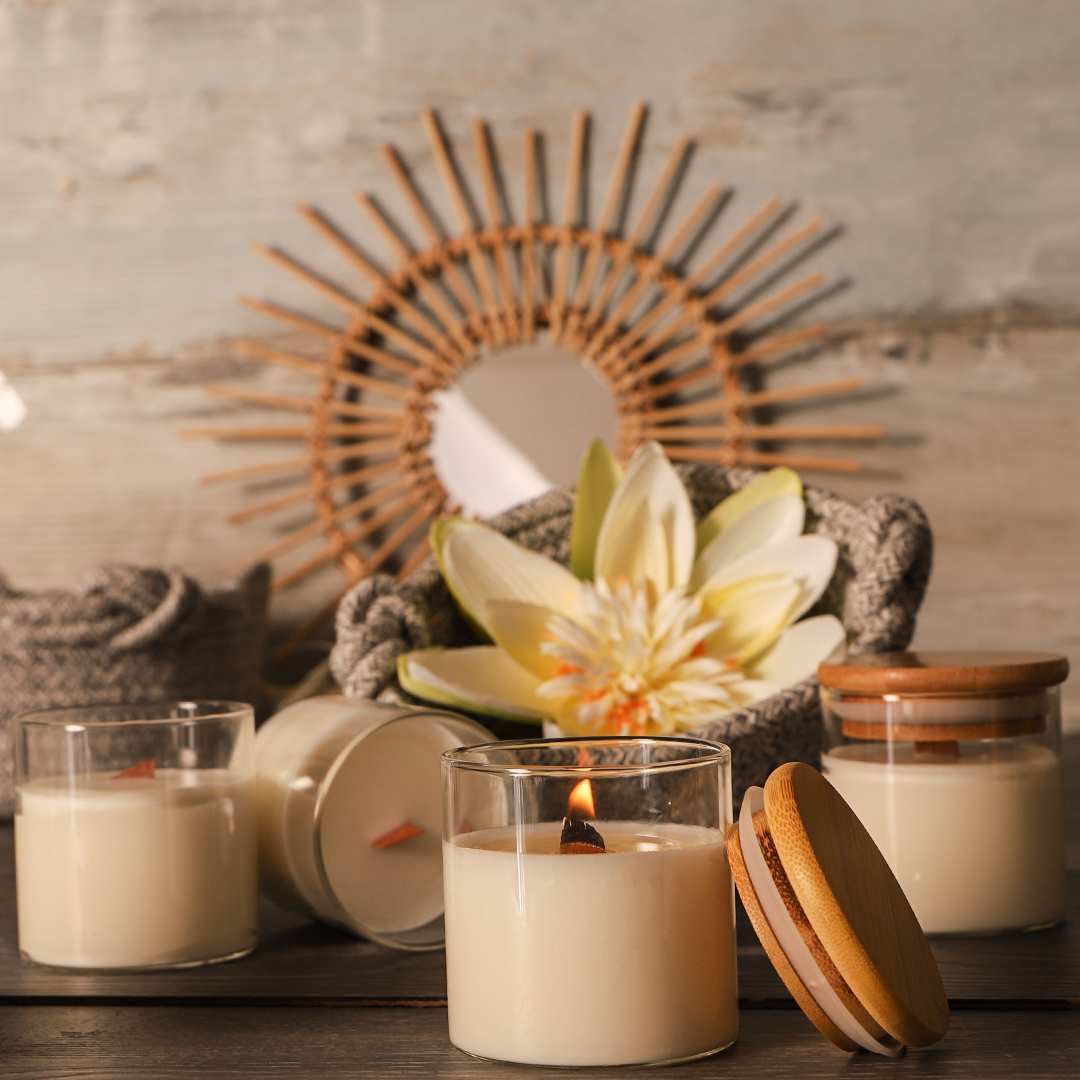
Let’s start with what kind of candle you want to begin with. You can choose from a variety of sizes, shapes and styles. From the classic candle holder candles to the more intricate and elaborate candle designs, such as those in coconut bowls or fireproof jars with lids. Ask yourself what kind of candle you want to create and use that as a starting point.
Pick the perfect mold
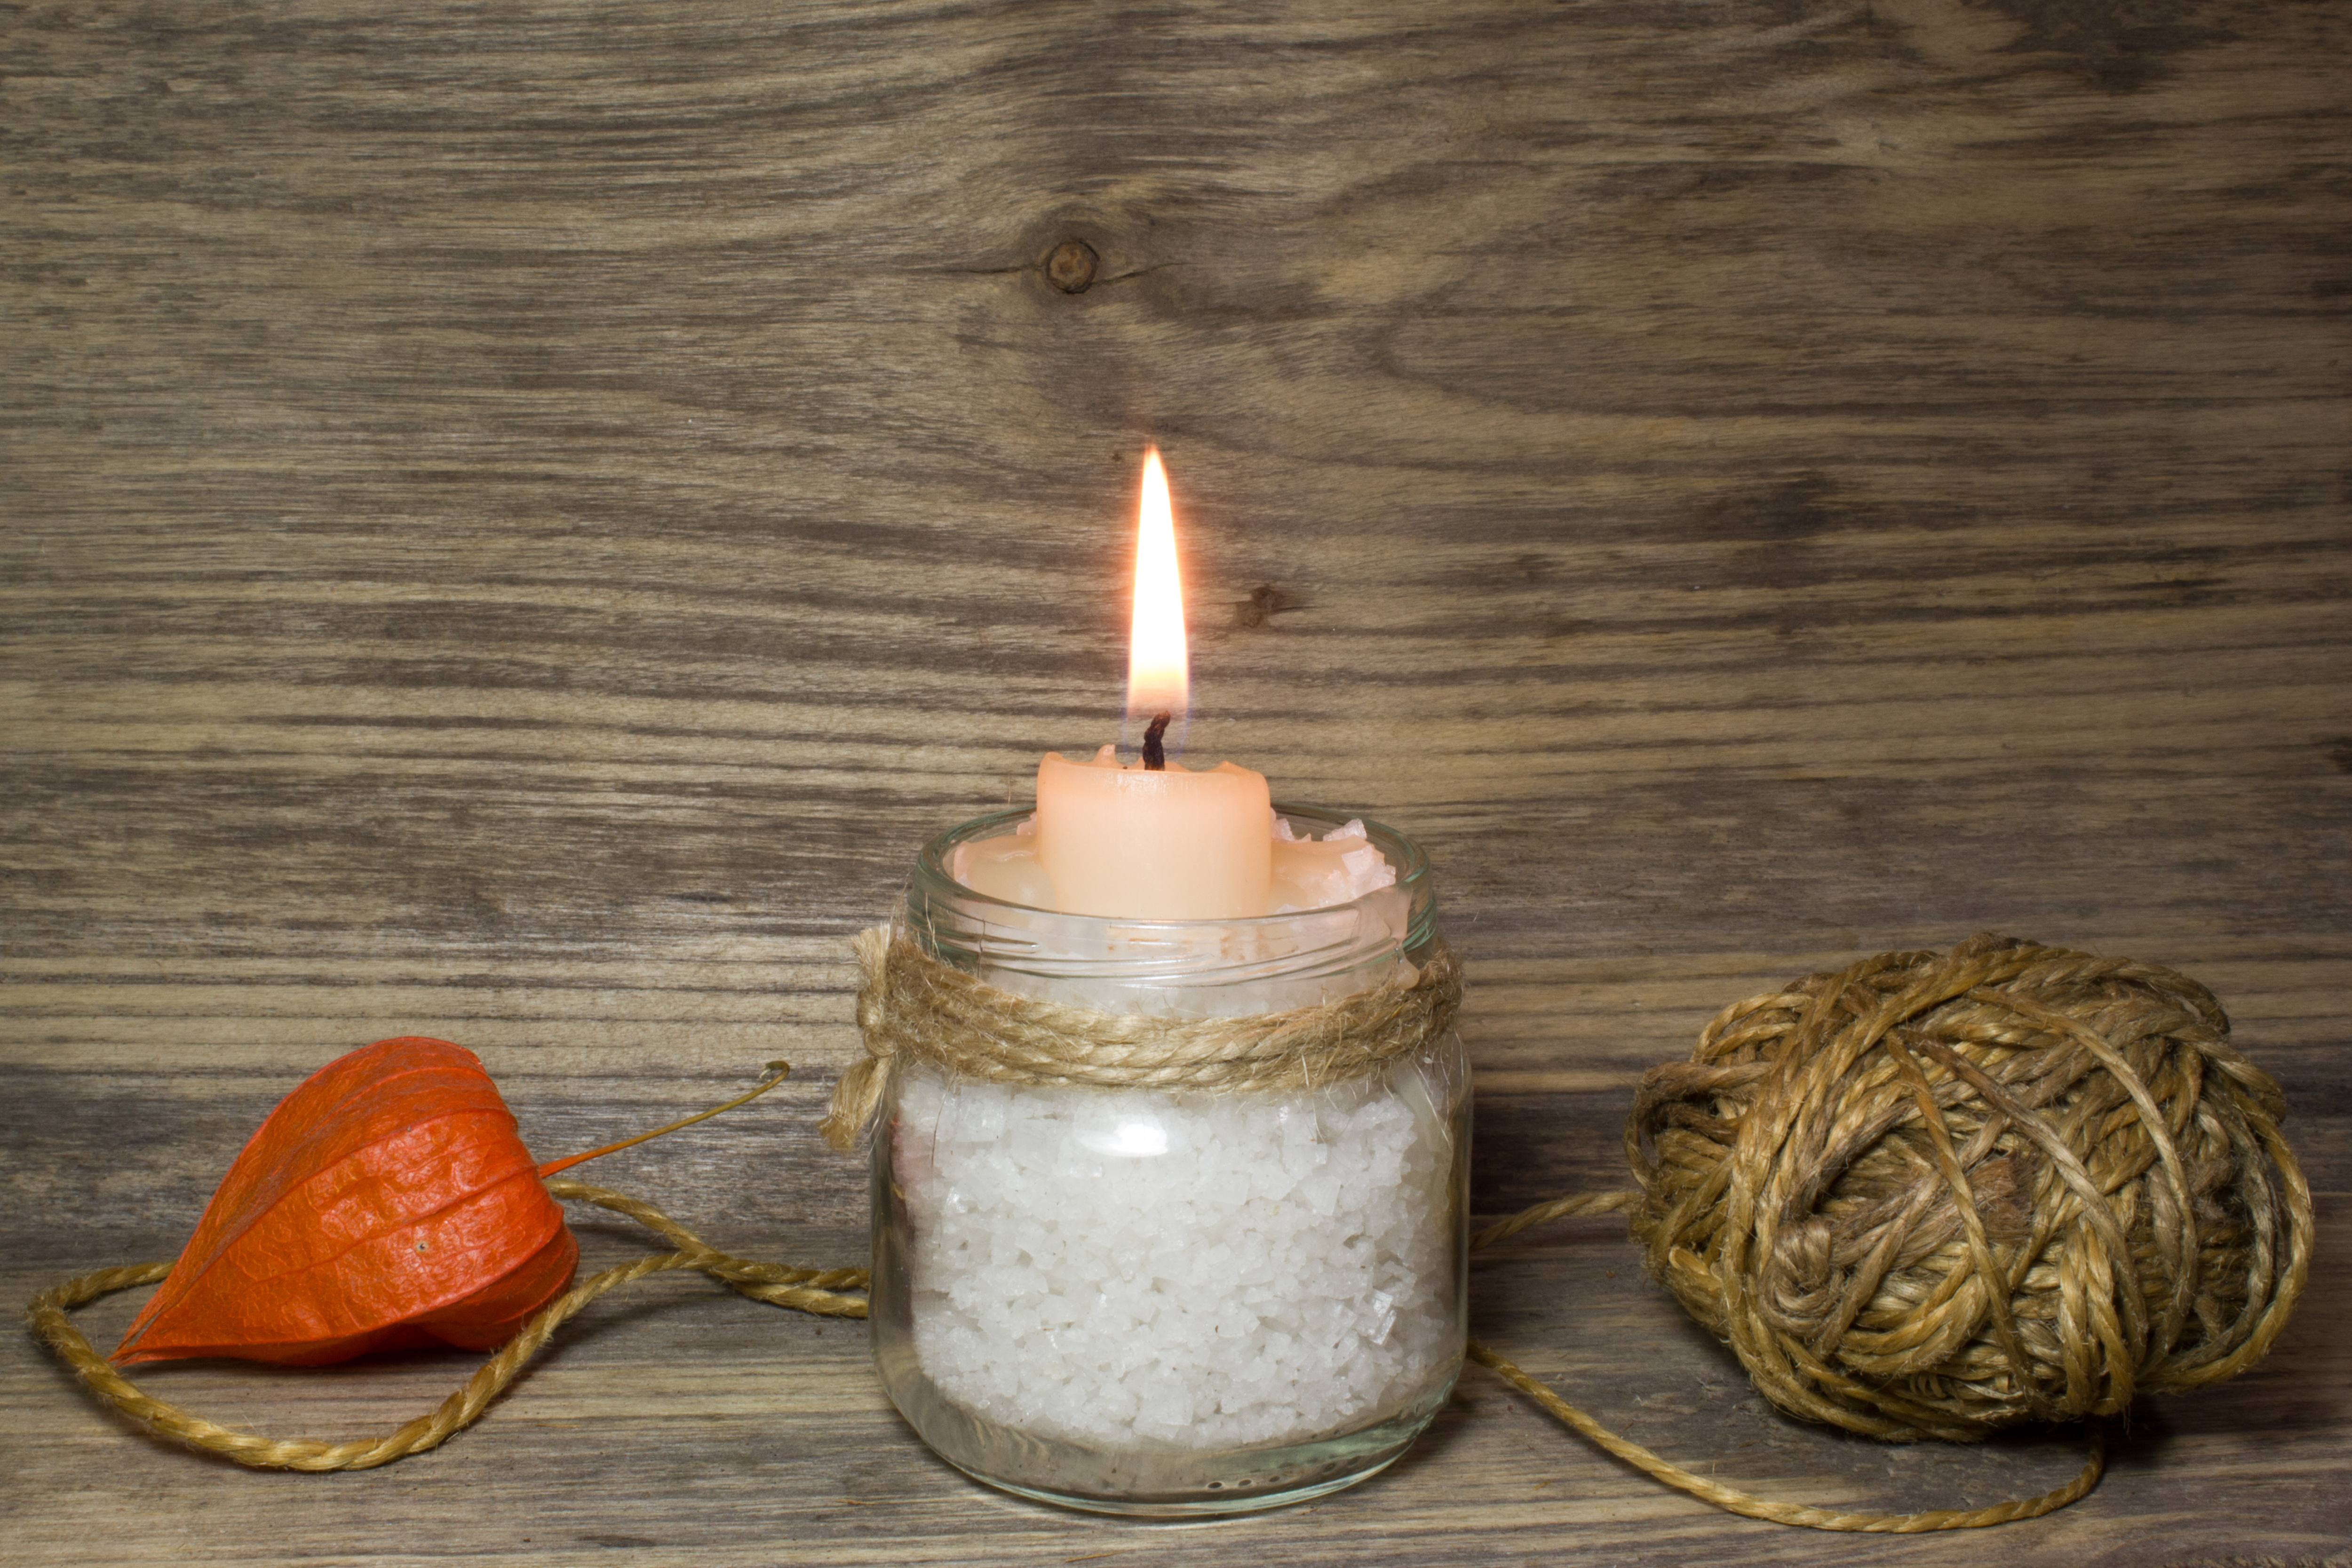
The mold that you ‘ll choose will be the basis of your creation, so choose carefully! You can choose from mason jars, tin jars, glass jars and so many more options. Just make sure that above else, your mold/jar is fireproof and can withstand the heat of the flame during the wax burning process.
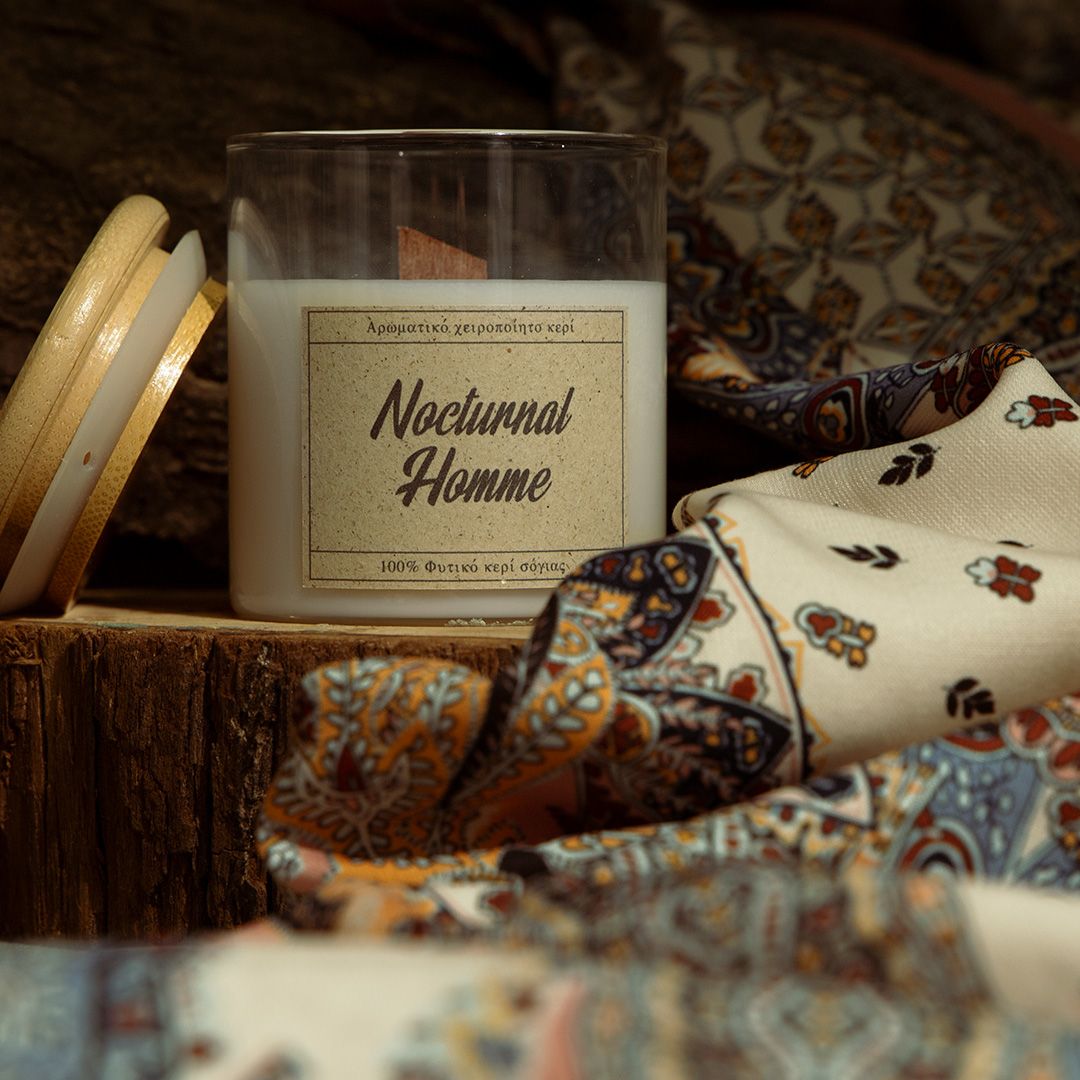
Pro tip: Scented candles need a lid to maintain the intensity of the fragrance throughout their “life cycle” so it’s best to choose a container with a lid.
Choose the right type of wax
With so many wax types available on the market, it is difficult to choose just one for your project. Paraffin wax has been the most popular choice for many years. It is economical and can hold fragrance oils very easily. However, it is not Eco-friendly and releases a lot of harmful chemicals into the atmosphere.
On the other hand, we have beeswax. The cleanest burning wax with the disadvantage that it is not suitable for making scented candles because it does not easily hold the fragrance oils sufficiently enough.
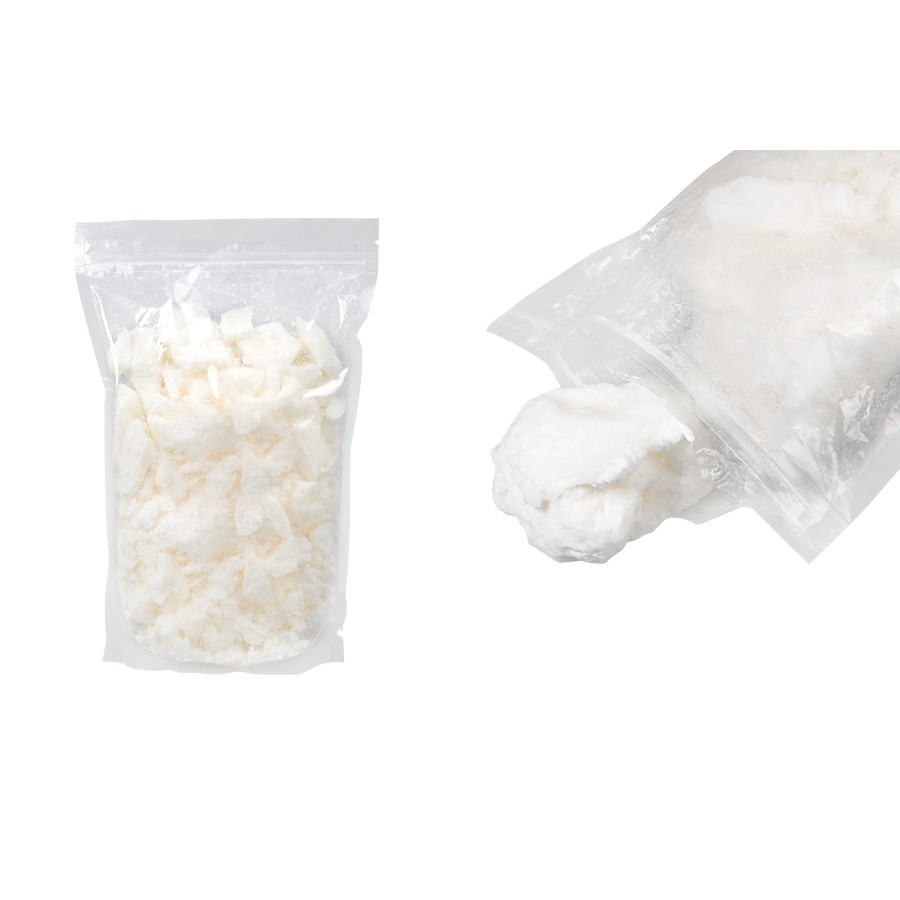
Soy wax has been a popular choice in recent years as it gives a clean burn with excellent longevity. Another popular wax within the same category, and with similar properties more or less, is the coconut wax. Both are a great place to start.
Pigments, fragrance oils and wicks
Once we have chosen the type of wax, we now need to make the final decisions.
The pigments come in oil or powder form and will help you create unique designs.
As far as the fragrance oils are concerned, this is purely based on your own preference. Also, you have to make sure your wick matches the container width you will be using. If you will be using a very wide candle holder, you might want to consider using 2 or 3 wicks to ensure your candle burns smoothly. Its best to start with a small 120ml or 200ml candle jar, where 1 wick would be sufficient.
Materials for creating scented candles:
Waxes – We recommend soy wax
Candle Jars
Metal vessel (inox) for bain-marie
A good quality thermometer
Stainless steel vessel
Stirring rod
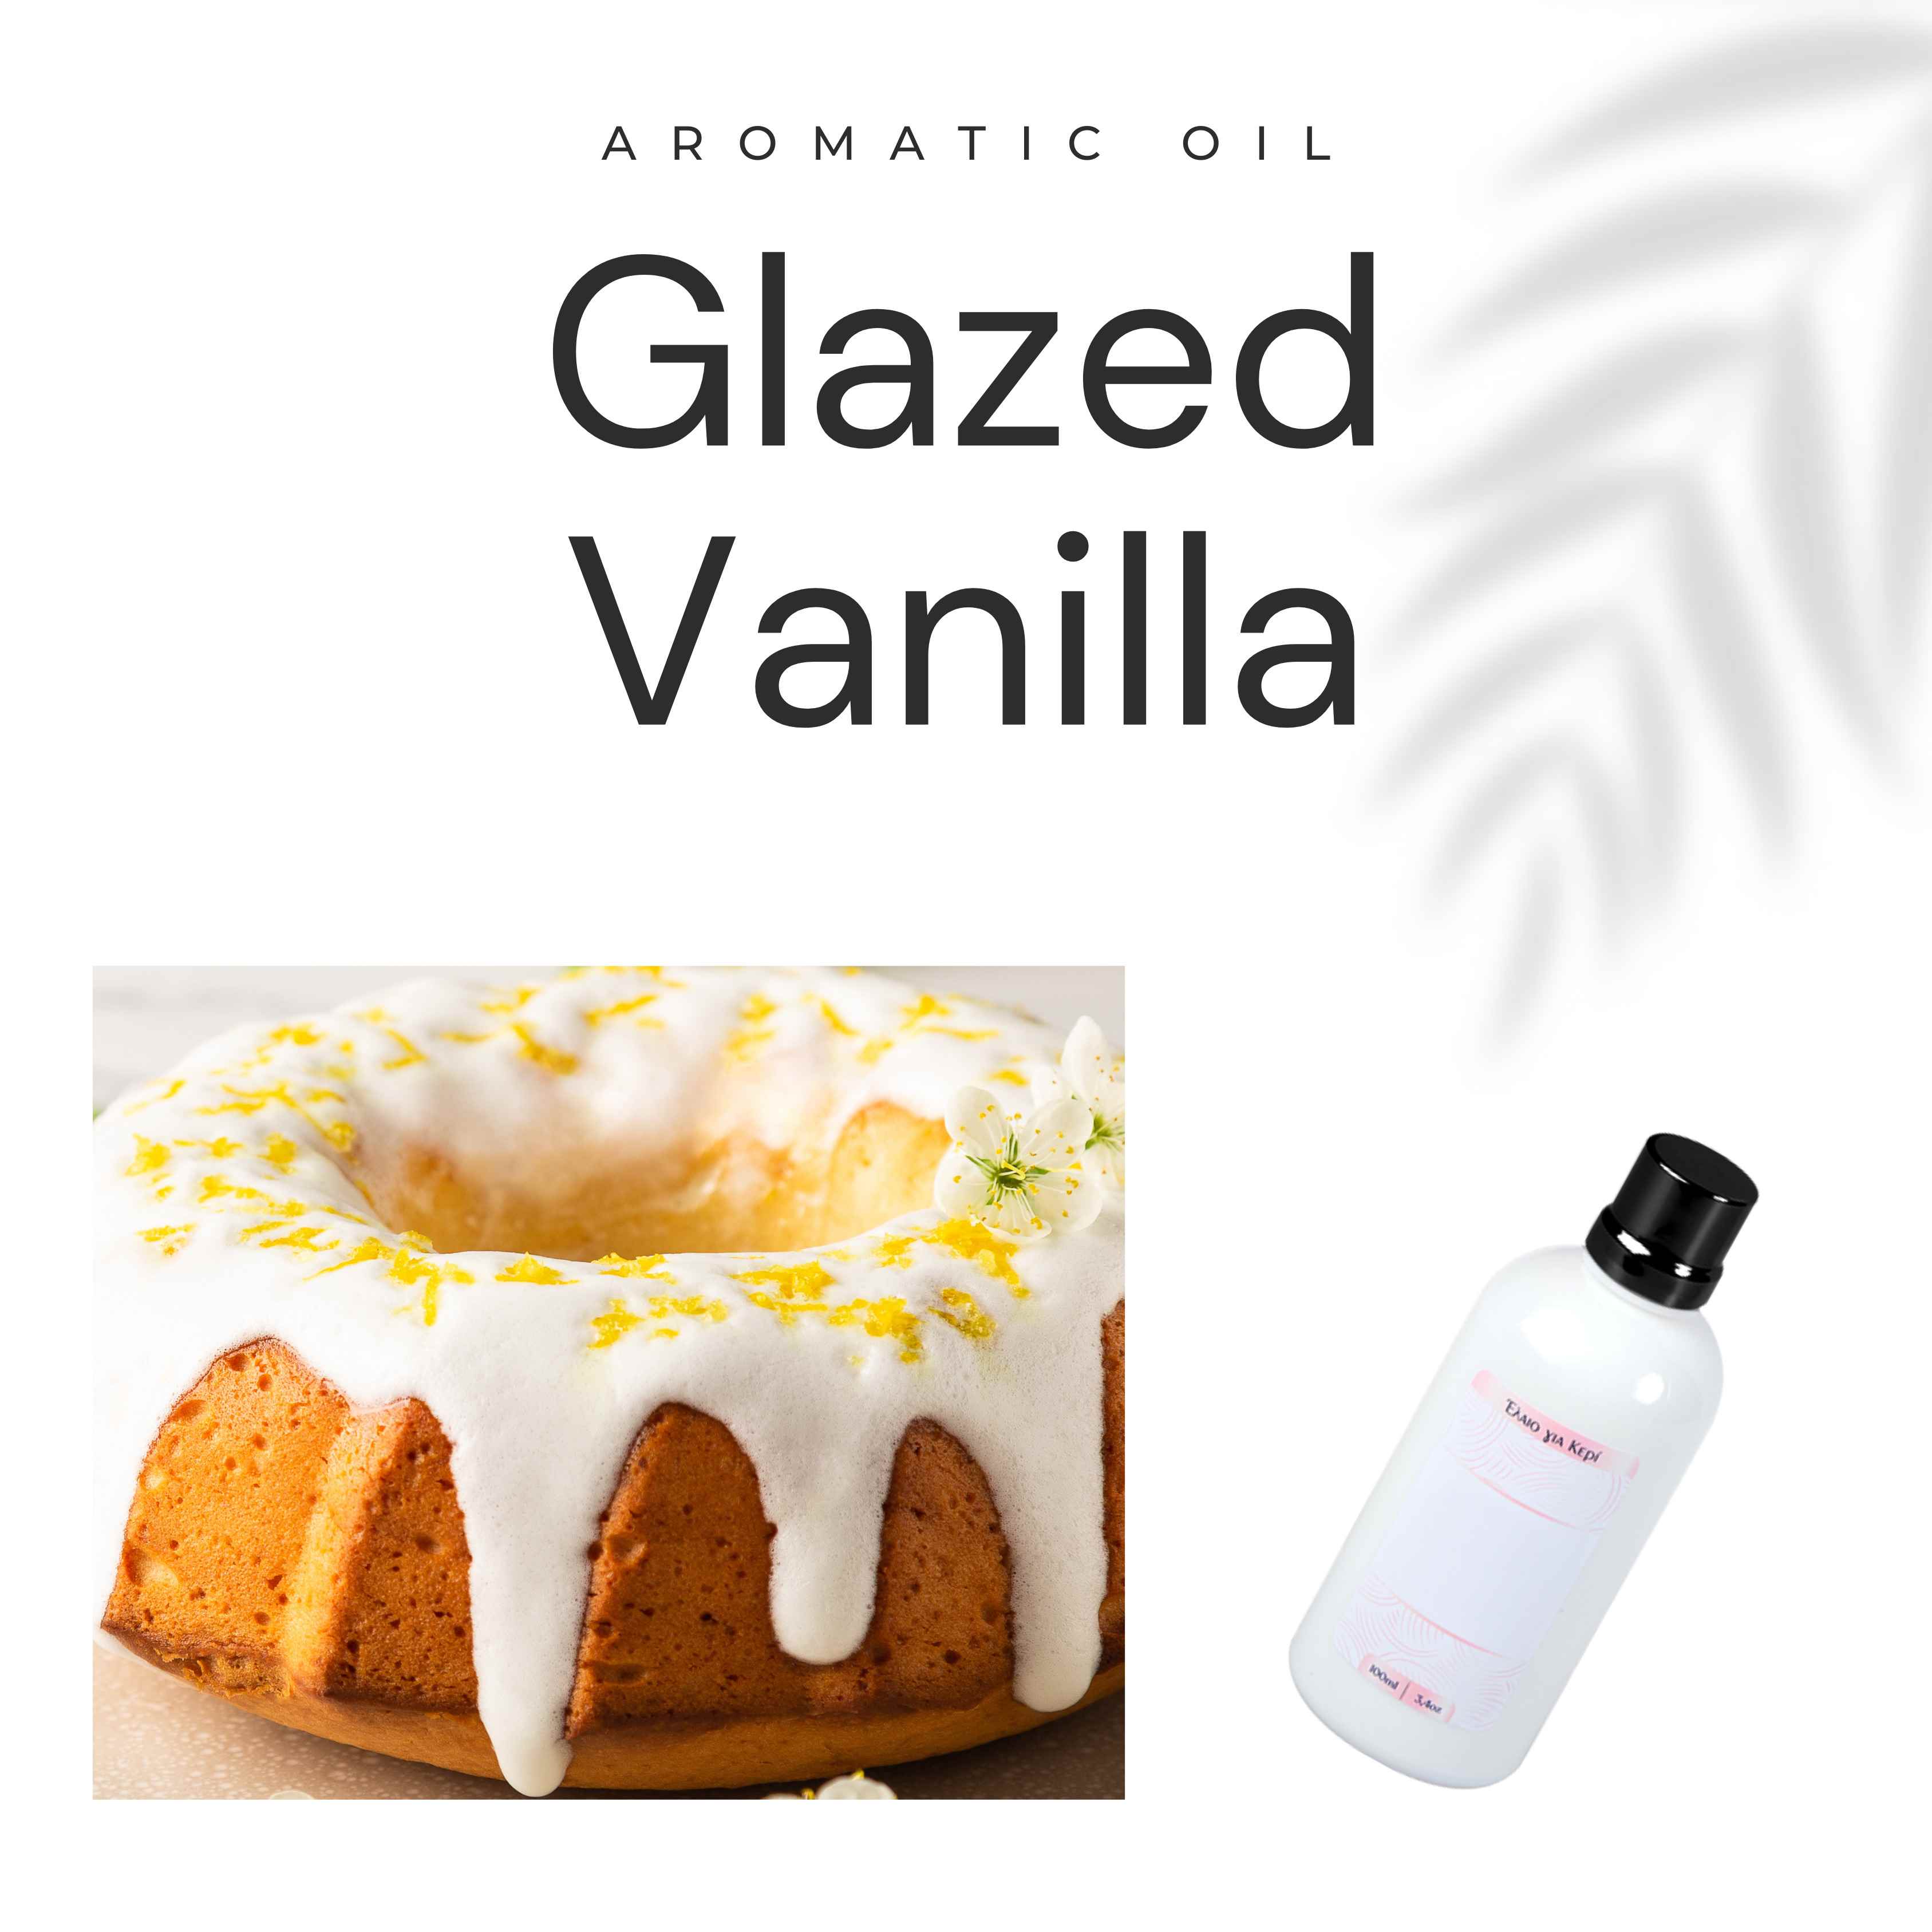
Fragrance oils
Wicks (we prefer wooden wicks)
Accessories to keep the wick centered (such as metal bases for wooden wicks)
Wick trimmers
Step-by-step instructions for your first scented candle
Step 1
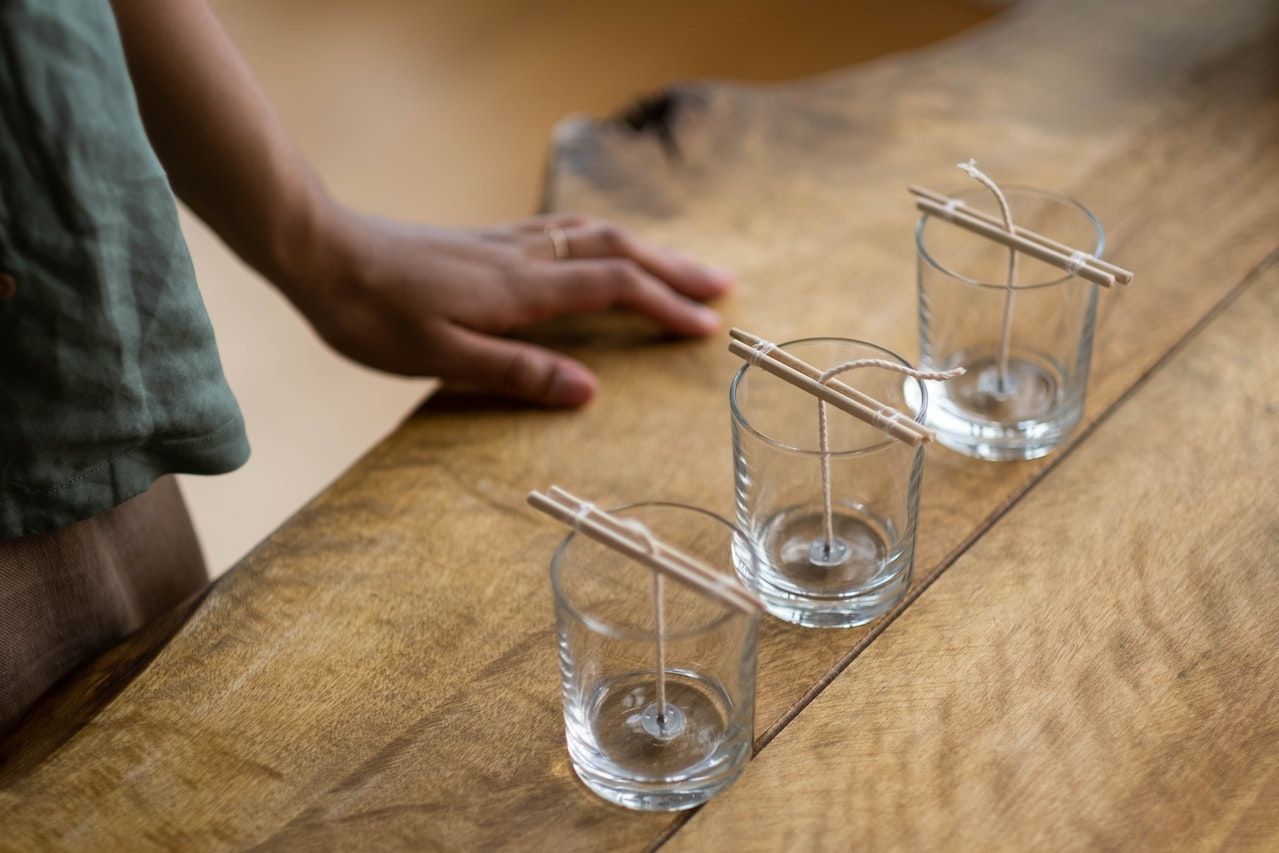
Glue the wick to the base of the container. You can secure it with a peg so that it won’t fall or wobble when you pour in the melted wax. It is very important that the wick is securely placed in the center of the container to ensure proper and even burning.
Step 2
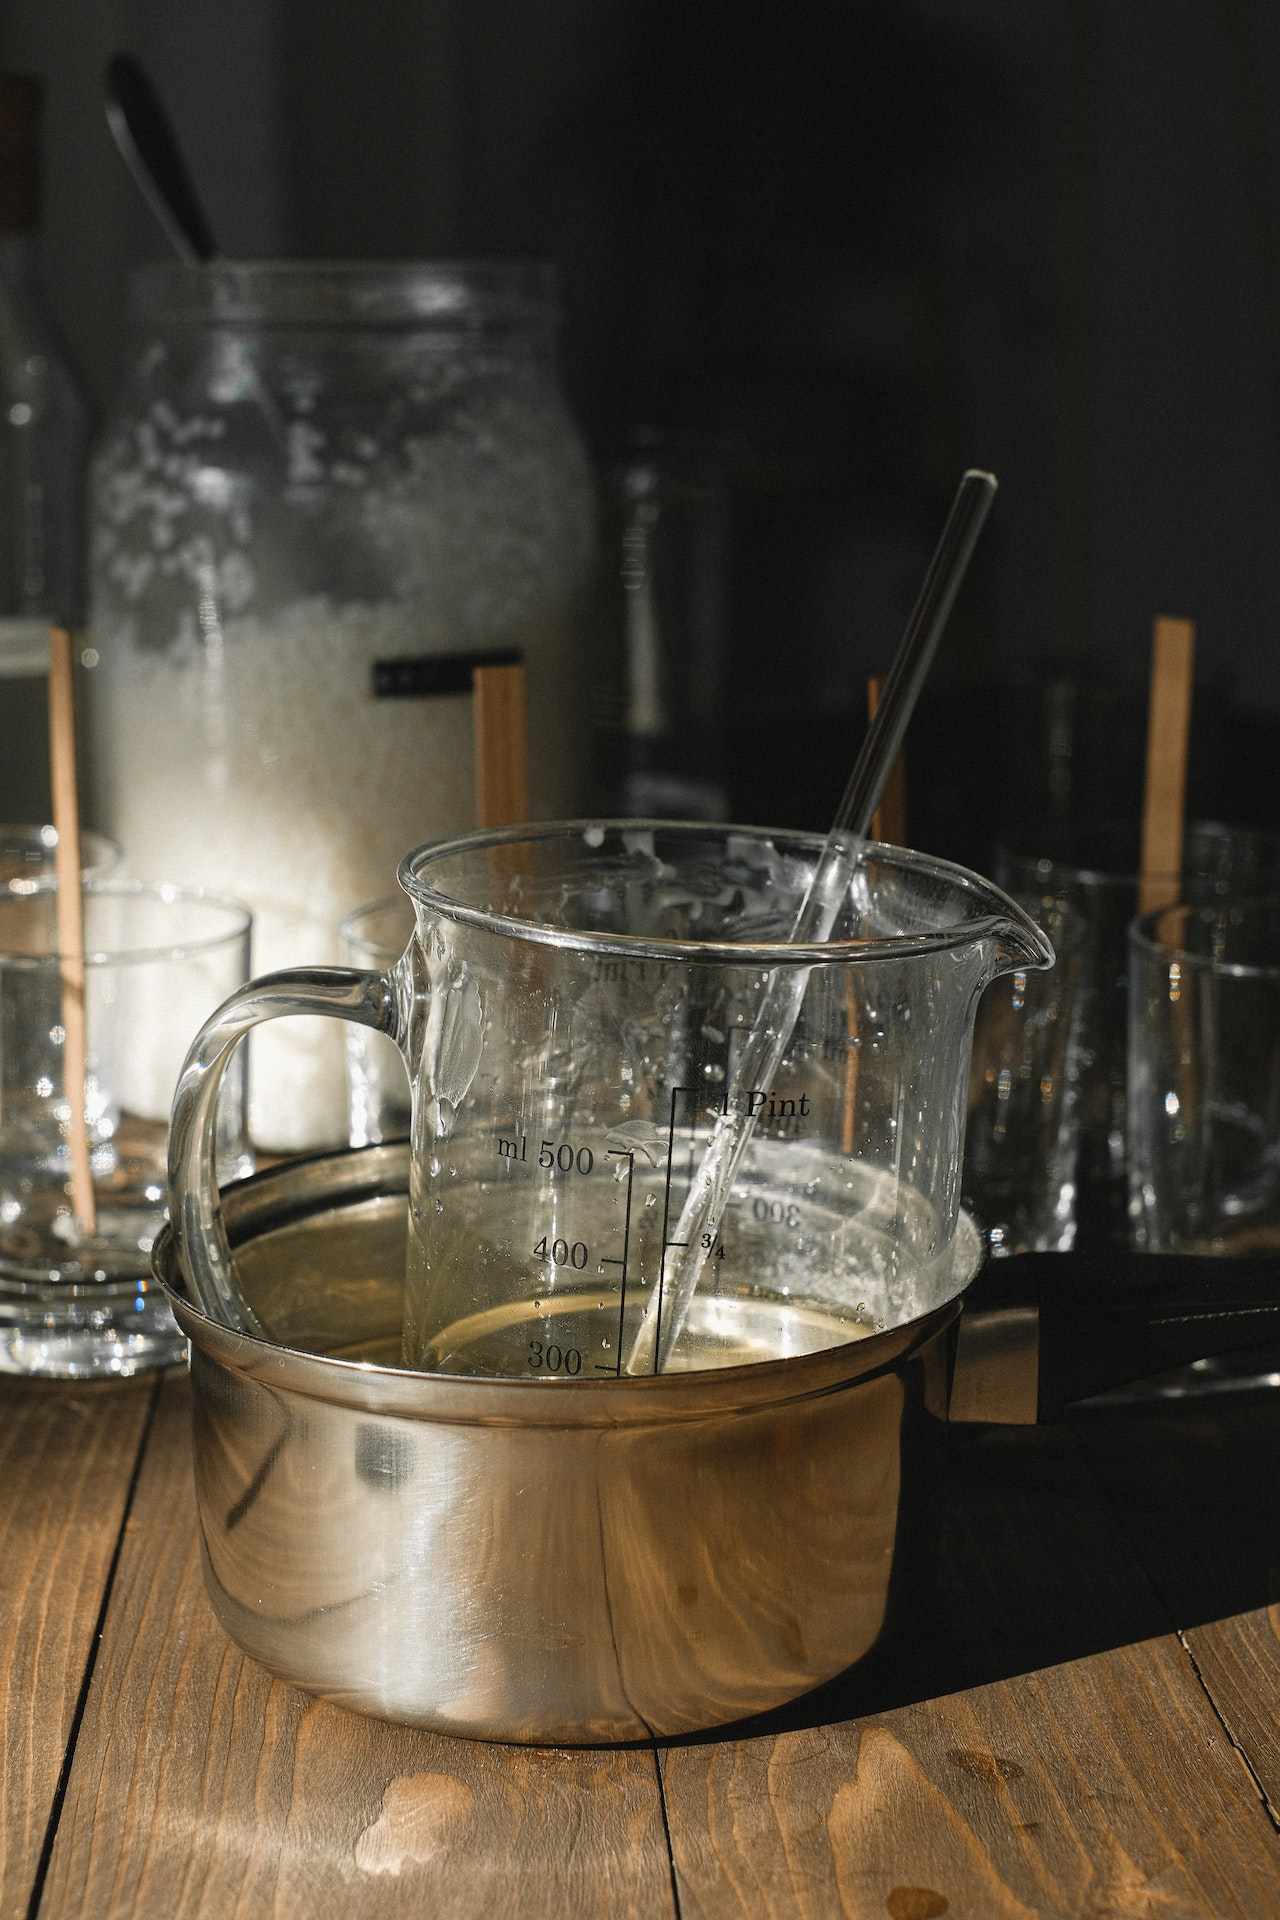
Never melt the wax directly! Use the Ben Marie technique instead.
Step 3
When the water starts to simmer, lower the heat and gently stir the soy wax with the stirrer. We want the wax to reach 90 degrees Celsius. The Ben Marie technique ensures that the wax will not go past 100 degrees Celsius, where there is a risk of combustion.
Step 4
The percentage of fragrance oil we use may vary. We usually choose from 6 to 15%. It depends on the use and the size of the room where we want to use our candle in. If we want to have it in the bedroom, 6% oil is enough. In a larger space, such as the living room, we will need more oil (around 10-12%).
Step 5
Once the wax reaches 90-95 degrees Celsius, remove it from the heat and allow it to cool for 10 – 15 minutes. We want it to approach 70-75 degrees Celsius to add the aromatic oils.
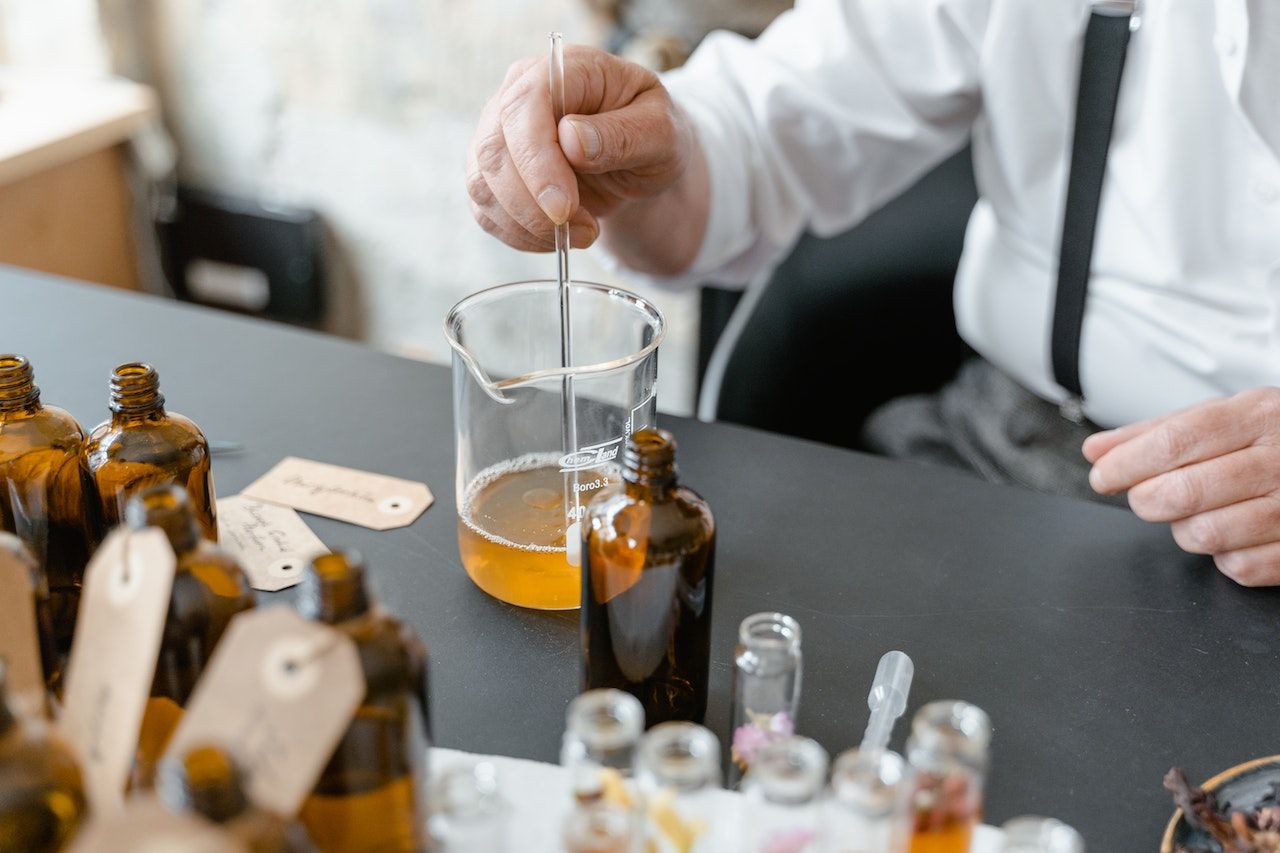
Step 6
Once your melted wax has cooled slightly, add all the fragrance oil to the pot and stir gently (to avoid bubbles) for at least 2 minutes. This will ensure that the oil and wax will blend smoothly.
Step 7

Let the wax sit for a few minutes and fill the containers when the wax is between 55 to 65 degrees. Be especially careful not to pour the melted wax into the container too quickly to avoid bubbles.
Step 8
It is important to let the soy wax cool and crystallize for at least 1 day. When it is cool, cut the wick with the wick trimmer to a height of just over half a centimeter.
Common mistakes and pitfalls to avoid when creating scented candles:
- Using the wrong type of wax. Each type of wax liquefies at different degrees Celsius. There are also differences in the temperature at which the fragrance oil should be added, as well as the ideal spot to add it to the container/jar/glass/mold.
- Wrong percentage of fragrance or essential oil. If too much oil is used, the burning of the wax may be affected. If too little is used, it will not have enough intensity.
- Incorrect placement of the wick. It is very important that the wick is the right length for the size of the container, as well as being placed in the center of the container.
- Filling the container while the wax is too hot. This can lead to the creation of bubbles or uneven surfaces, which will affect the total burn time.
- Unmolding or burning the wax too early. The wax must be given adequate time to crystallize and set. Otherwise, it may lose its shape or not burn properly.
- The use of improper pigment. Certain types of pigments can lead to loss of intensity or discoloration over time.
Do you want to save space and money? Learn how you can use glass jars creatively and effectively in our article!

